

Making a custom location on Instagram is one of the best ways to generate traffic to your account. It gives you that extra uniqueness when it comes to standing out amongst other companies. It also allows people to check in at the same location, further promoting your account across other platforms.
When I was first hired to do the social media for F45, creating a custom location for the gym on Instagram was one of the first things on my to-do list — you know, the to-do list that never ends.
Well, I failed miserably. I tried every day for two weeks to add in the custom location, but I could never find it when I went searching for it on Instagram. I was super bummed. So I basically settled in with the thought that I suck at Instagram, social media, and ... screw it, I'm going to pretend like it's not possible to create a custom location and move on with my life.
Then, one day, the custom location just appeared, and I was as happy as could be.
What did I do wrong? I didn't update my Facebook app, which I think is a pretty common dominator in my phone life.
So first things first, always check to make sure your apps are up to date — in this case, both Instagram and Facebook. Since the social giant owns Instagram, you need to create the custom location on Facebook first, before you can sync it to your IG account. Here's how to do it:
Step 1: Turn on Location Services
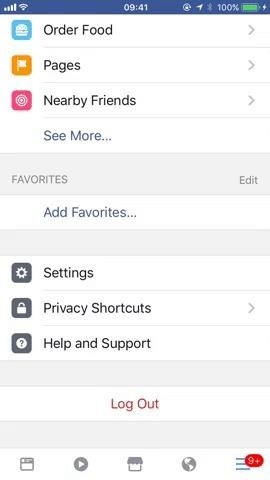
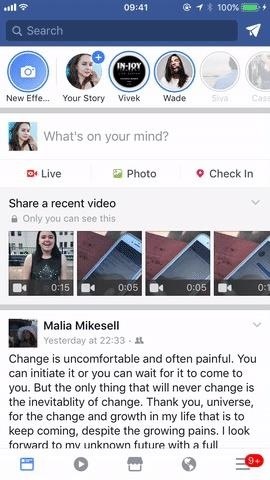
You can either enable location services through the Facebook app or through your device's settings. To get to the setting, start by opening Facebook, then tap on the menu button.
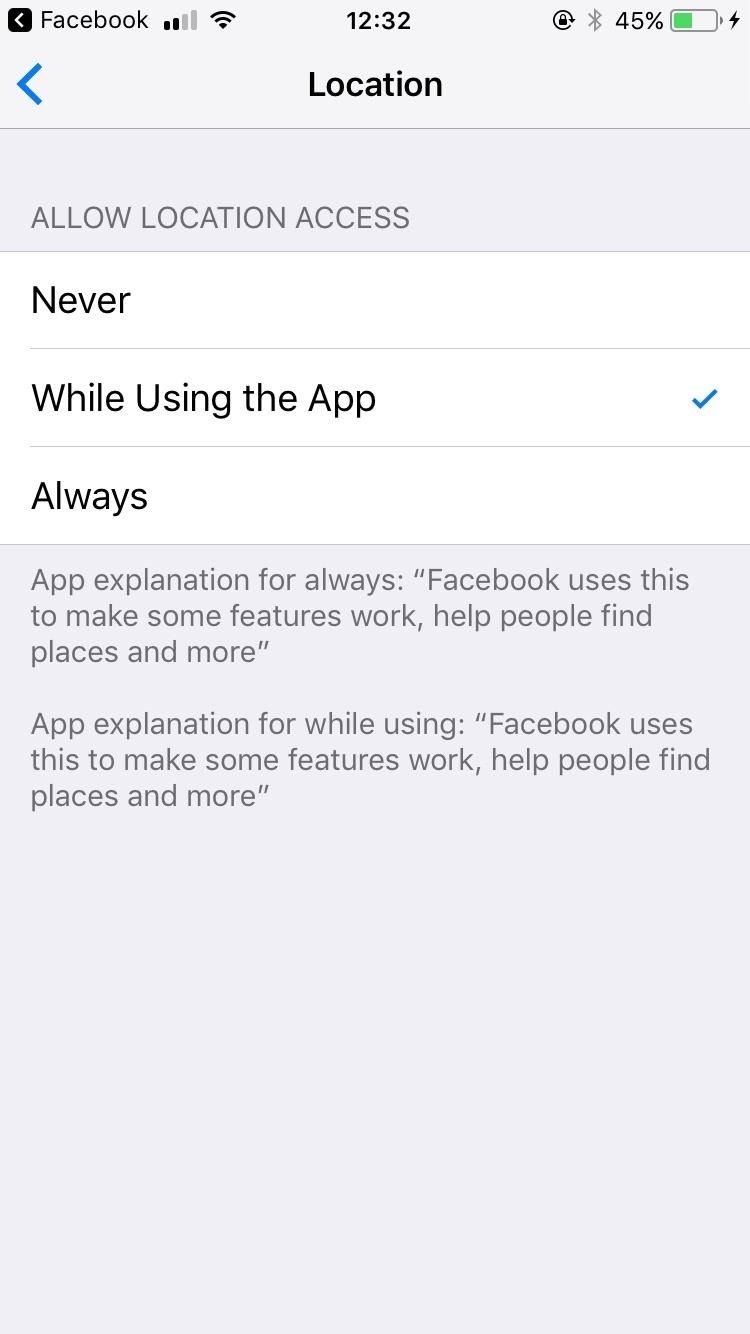
From there, if you're using an iPhone, select "Settings," then "Account Settings," and tap on "Location." On the next screen, make sure to select "While Using the App."
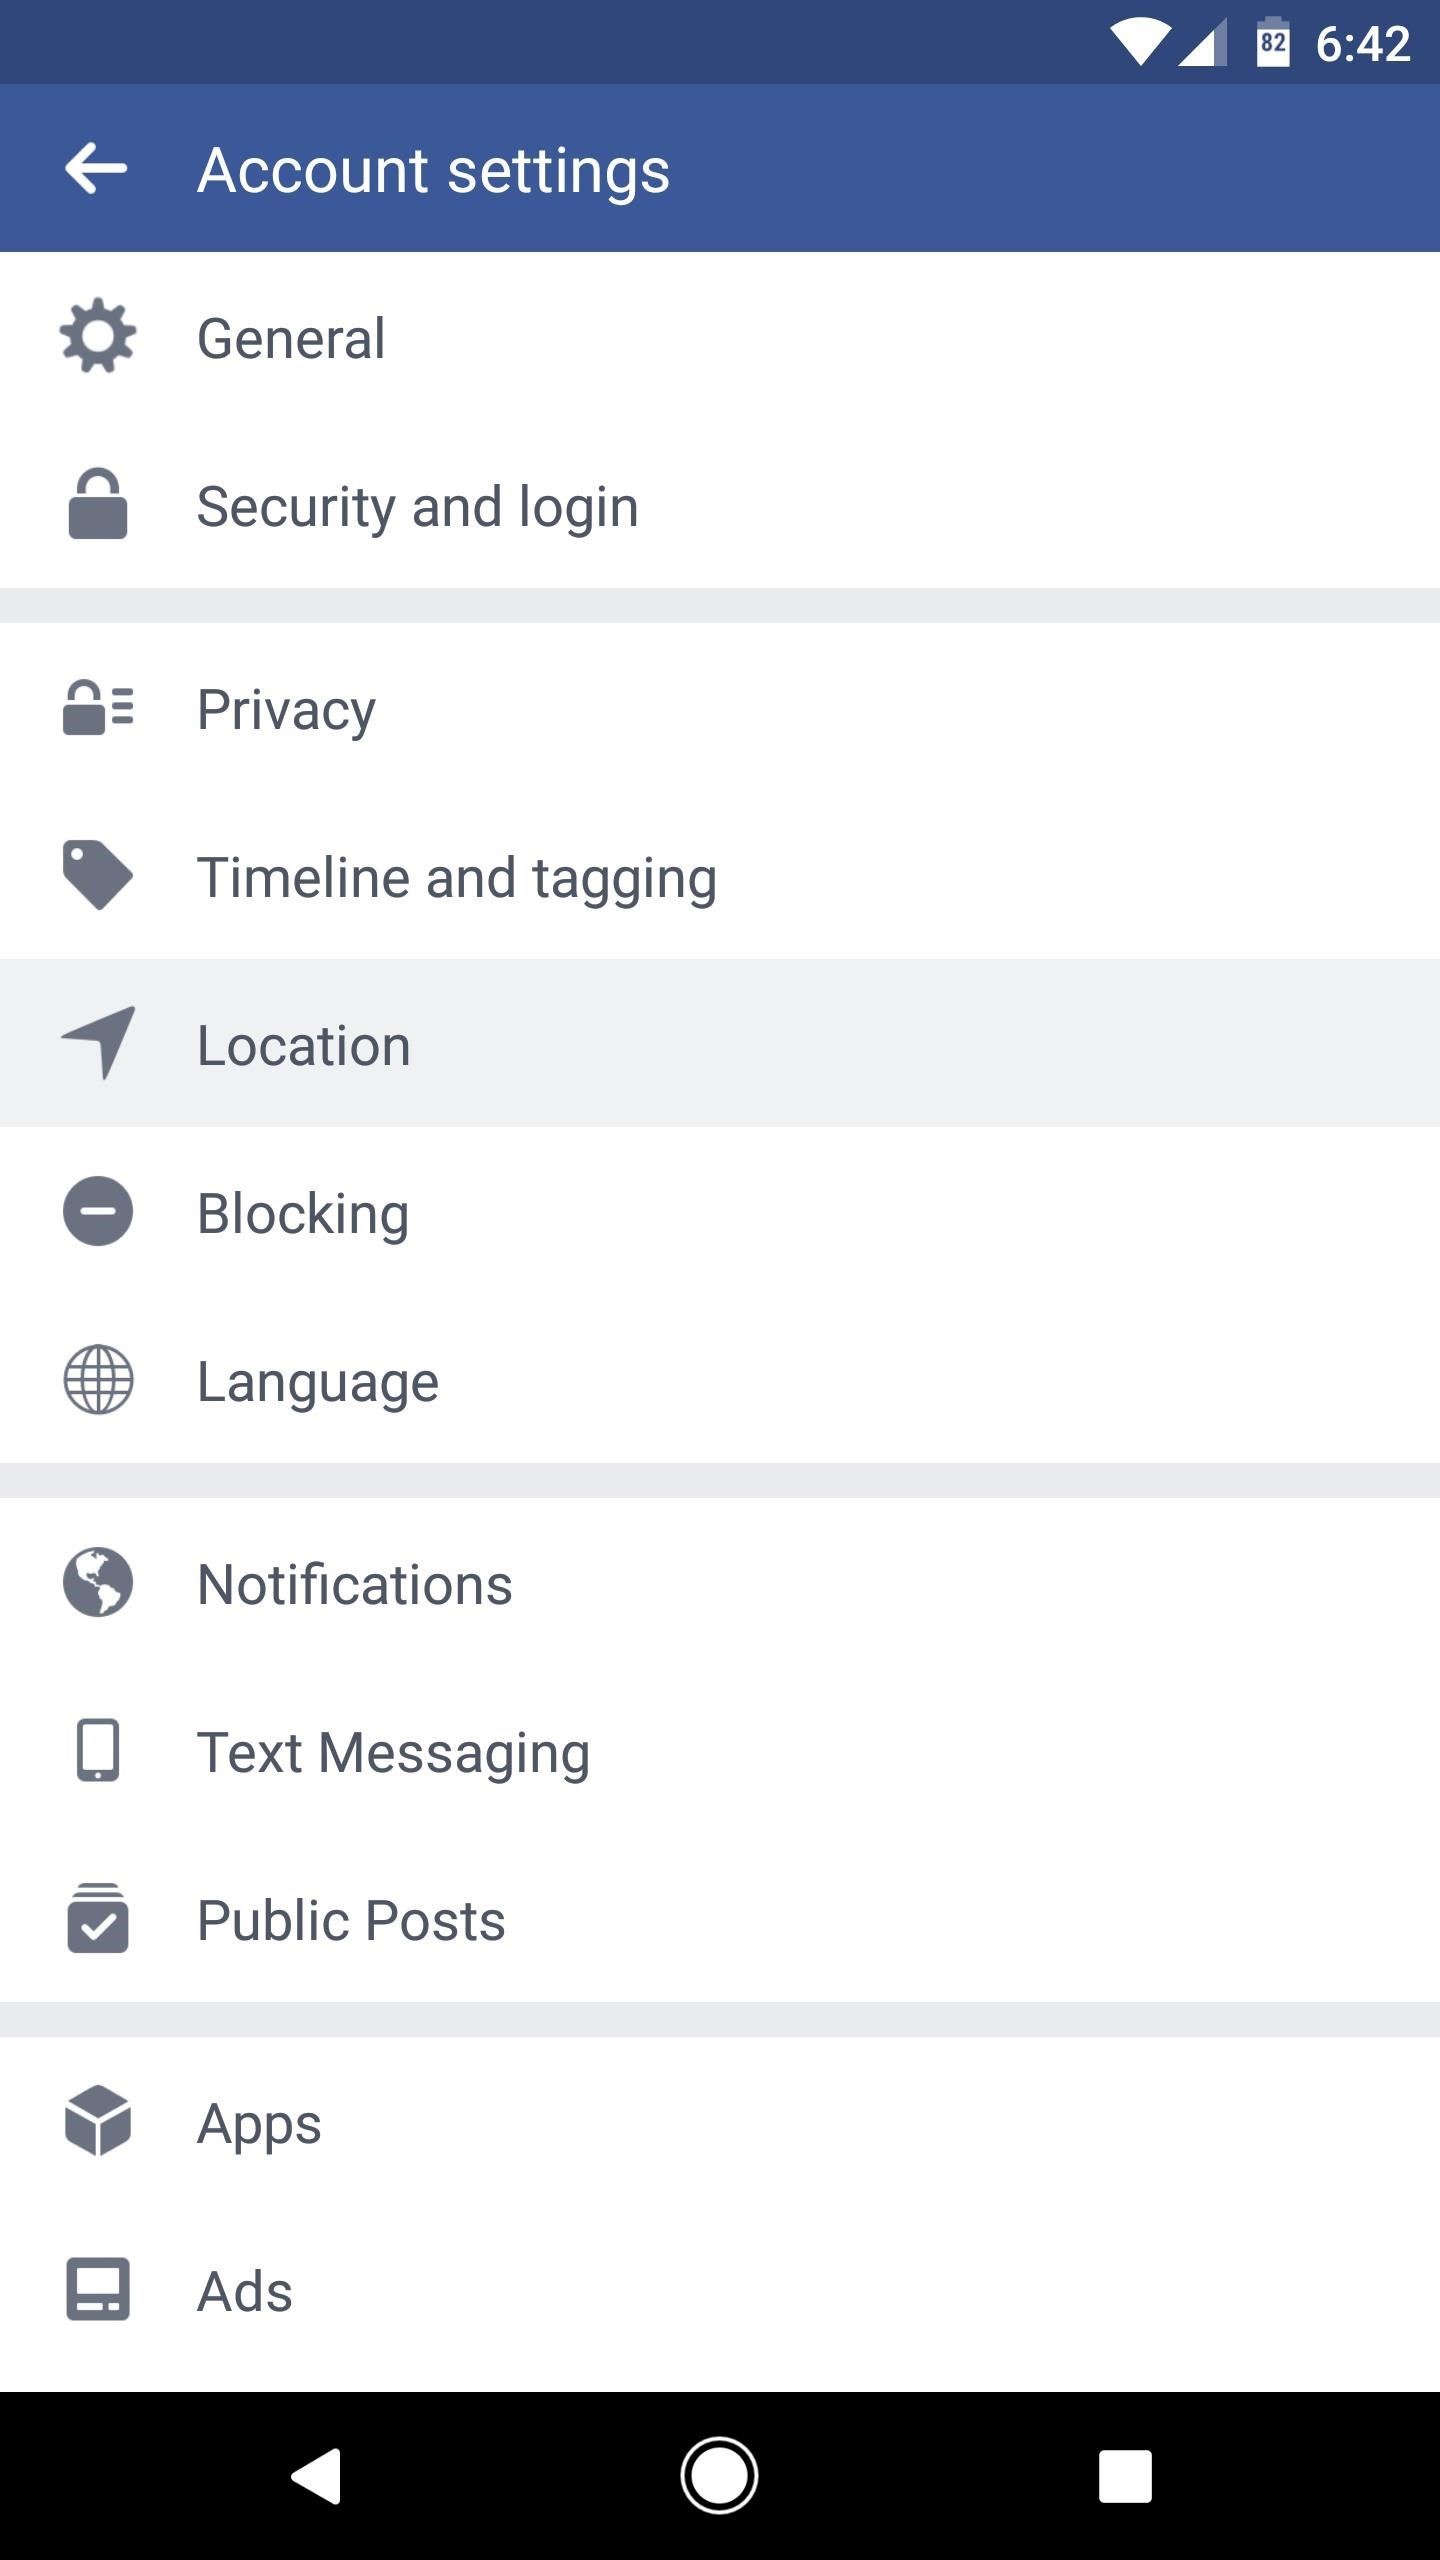
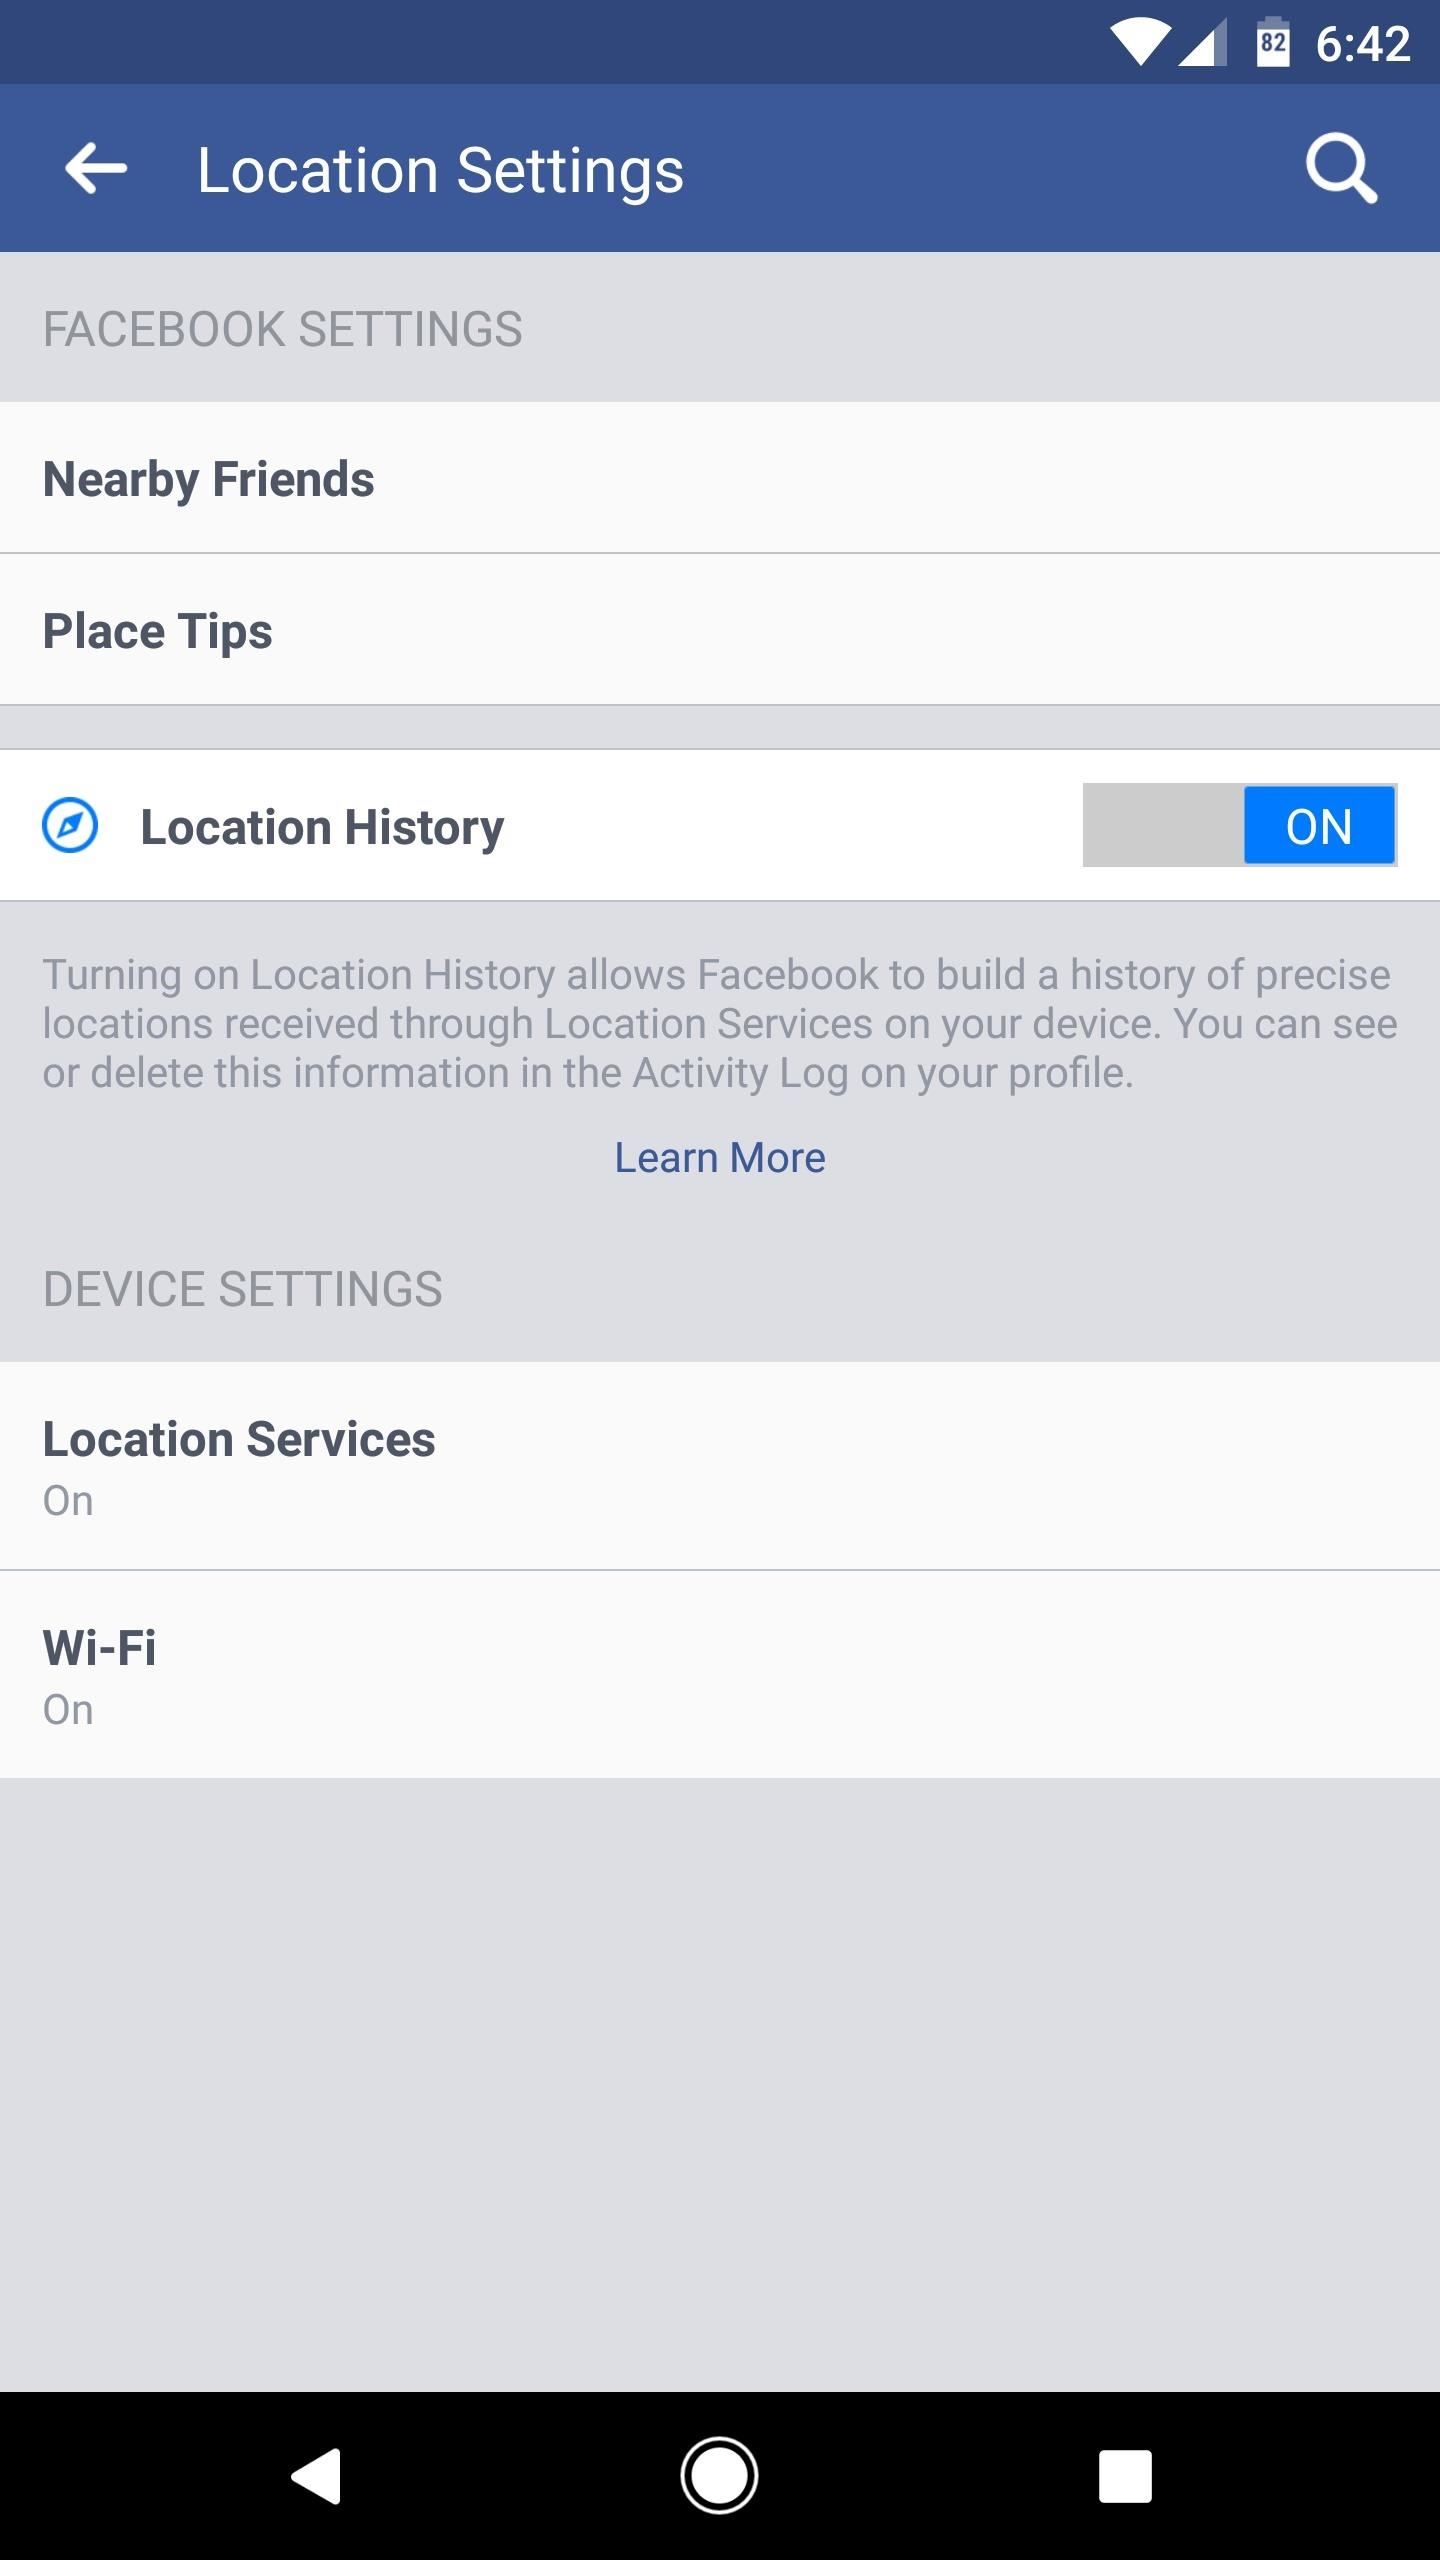
If you're using Android, select "Account Settings," then "Location," and make sure "Location History" and "Location Services" are both turned on. If you don't see "Account Settings," tap "Settings" first.
Having trouble turning on location services from within the Facebook app? Then go to your device's settings.
If you're using an iPhone, go to "Settings," then "Privacy." Tap on "Location Services" and then make sure it is turned on. Also, make sure that Facebook is toggled on from the Privacy list.
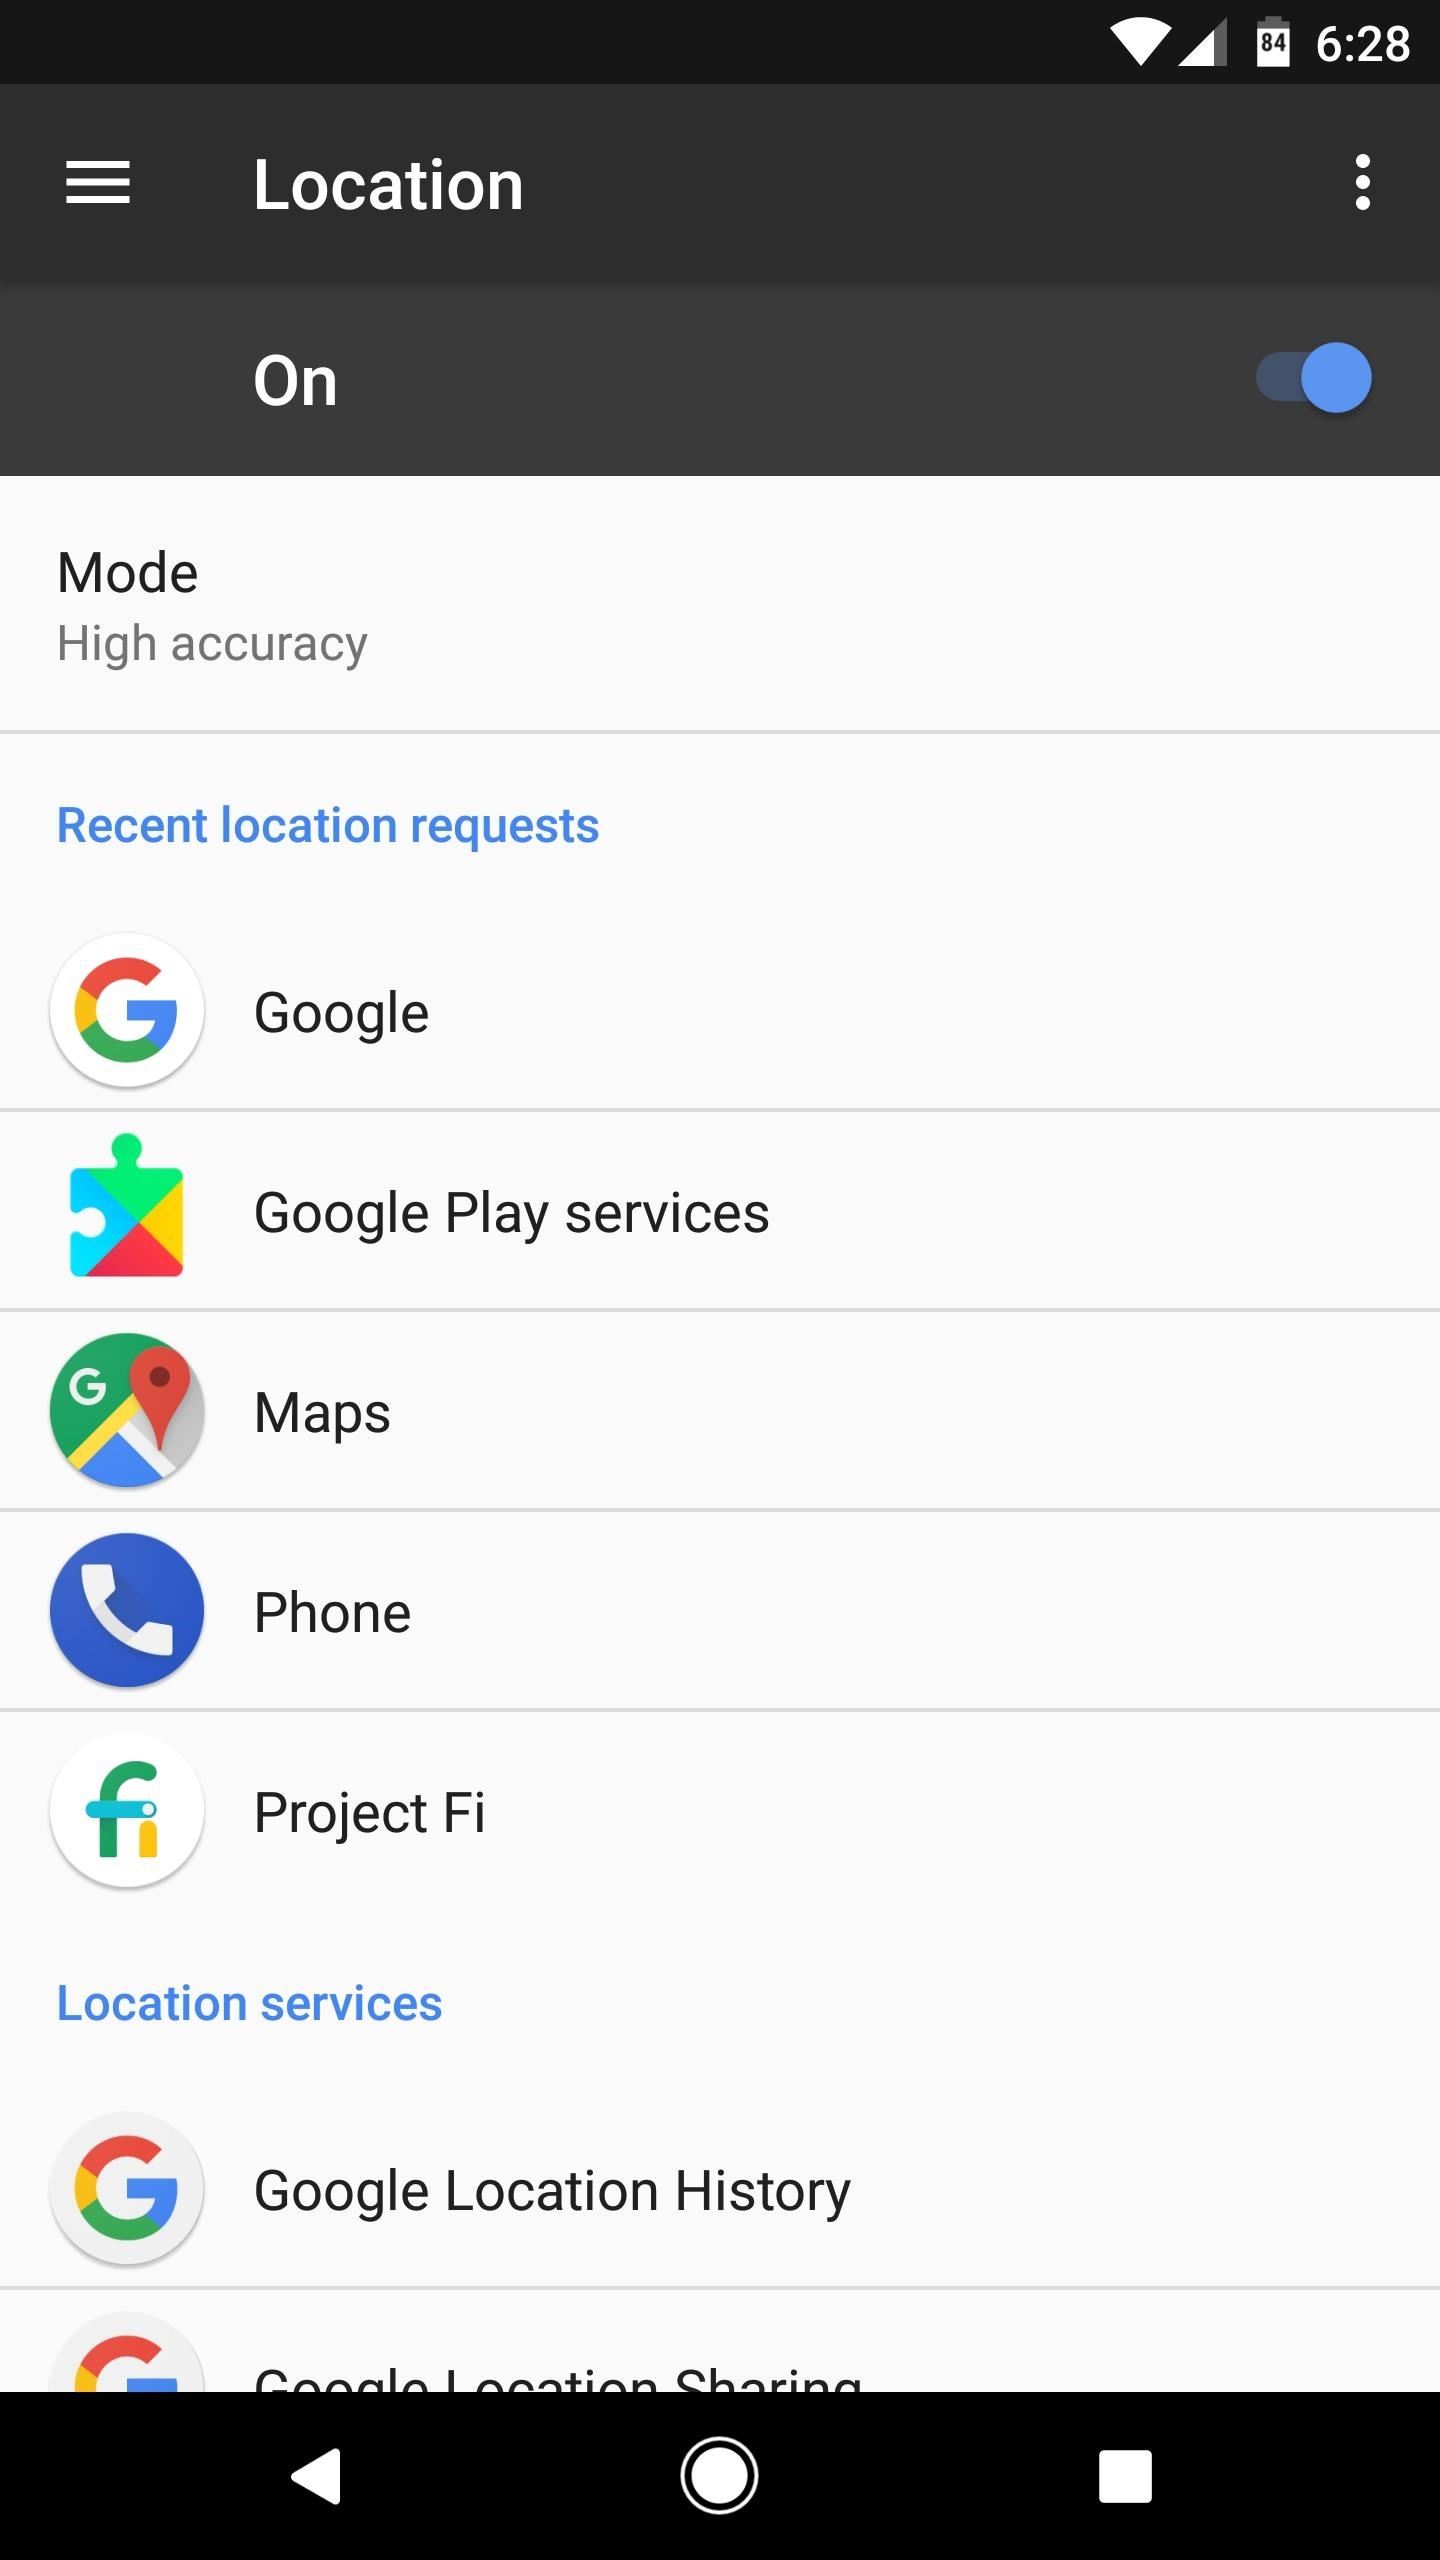
On an Android device, head to the "Location" menu in Settings (use the Settings search feature if you can't find it), then make sure the location feature itself is on and set to "High accuracy." After that, go to "Google Location History" at the bottom of the screen, then make sure this service is turned on as well. Also, make sure to go to the "Apps" section in Settings (again, use the search feature if you can't find it), find Facebook, select "Permissions," and make sure "Location" is toggled on.

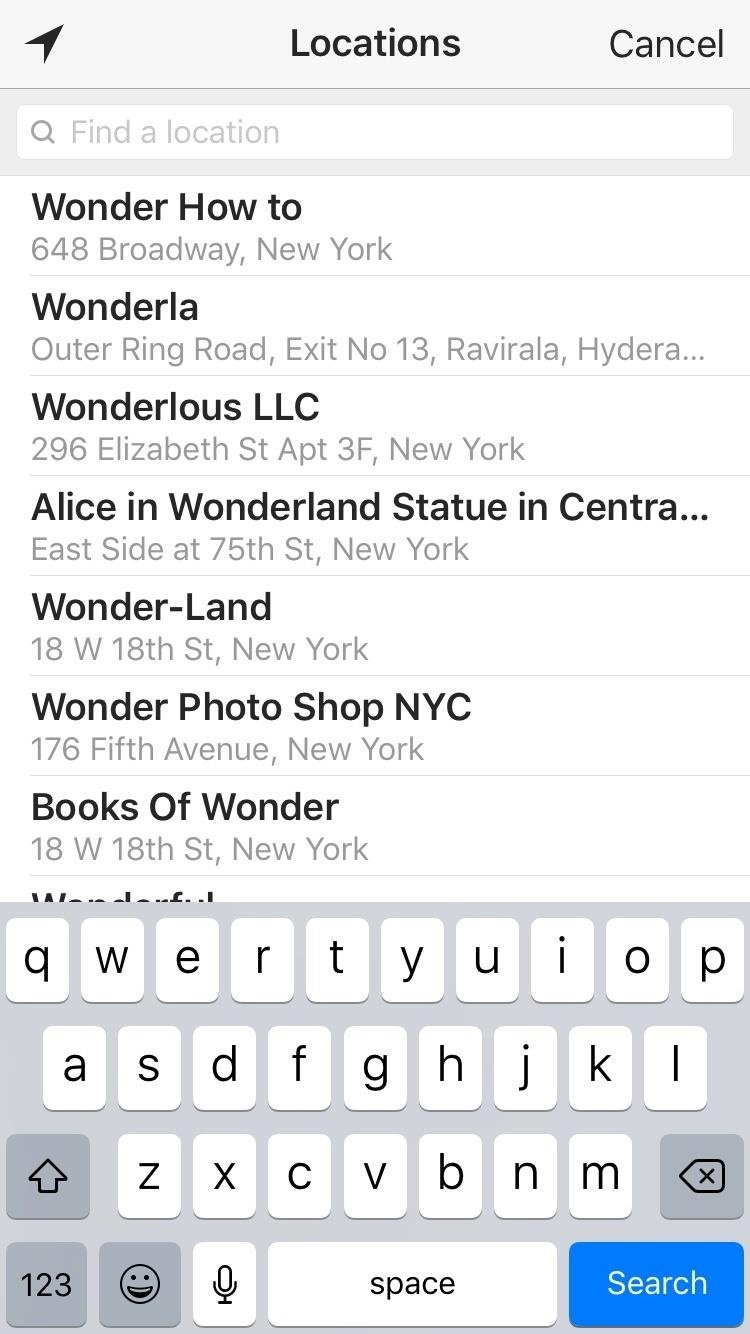
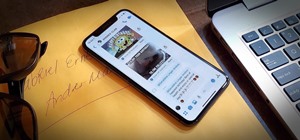
Step 2: Create a Facebook Check-in Status
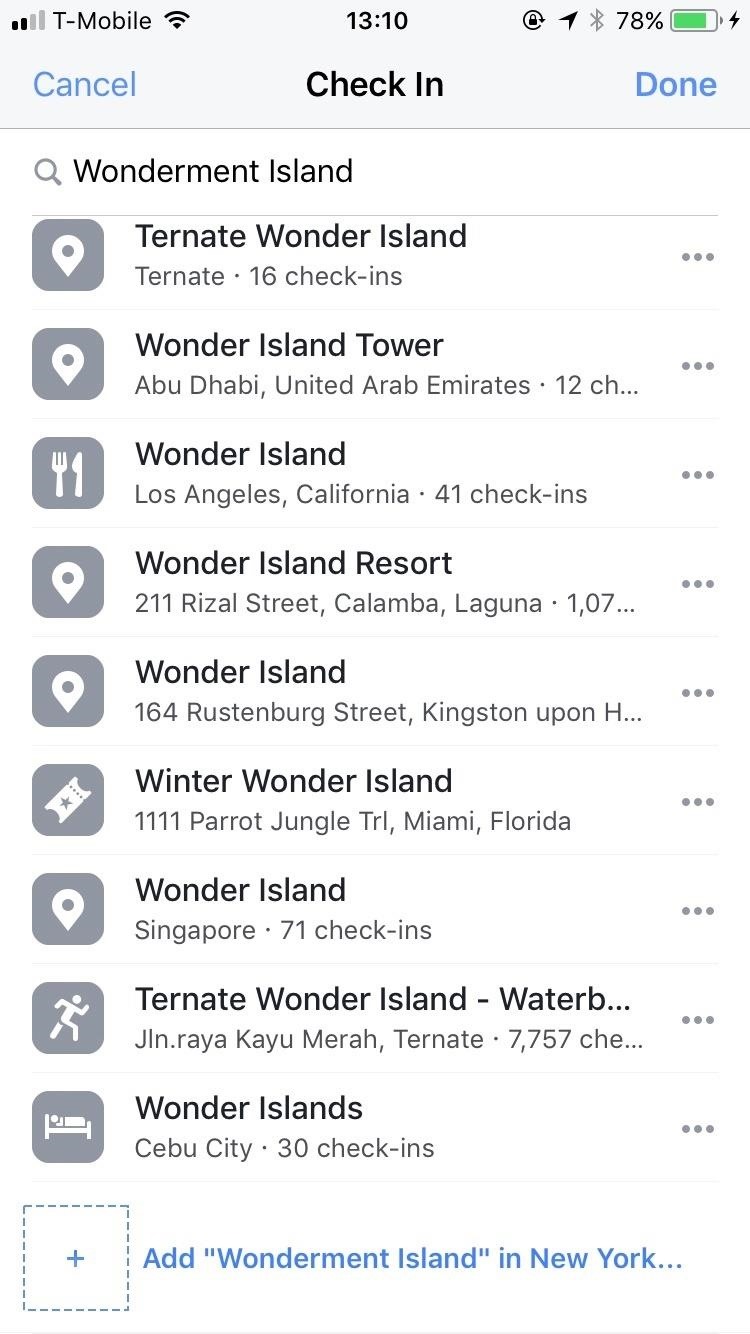
Now, create a check-in status on your Facebook account. Type the name of the location you want to customize into the search bar. You must capitalize the first letter of your location and, unfortunately, you cannot add in any emojis or symbols like # and @. So keep it pretty straightforward.
Scroll down all the way to the bottom until you see "Add [Custom Location] ... " and tap on it.
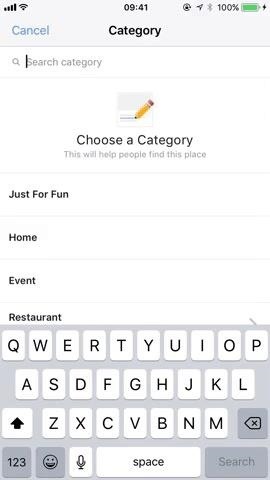
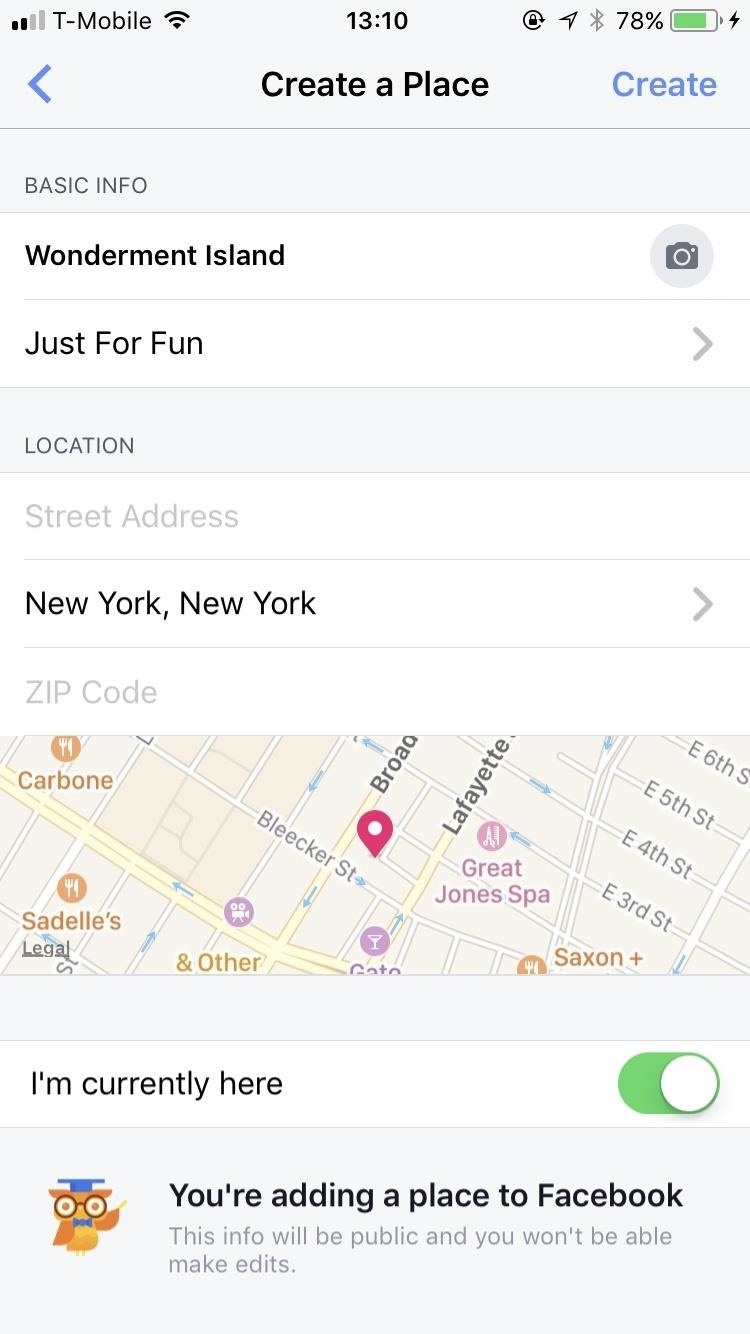
Step 3: Create Your Custom Location
One you've tapped on "Add [Custom Location] ... " choose which category describes your location best. I choose "Just for Fun" because that's what describes my location best, but maybe yours is an event or your place of business.
After choosing your category, Facebook will ask you to choose a location. Choose "I'm currently here" or search for the location that you want to customize and choose that instead. Then, create the location and post your check-in status to your Facebook.
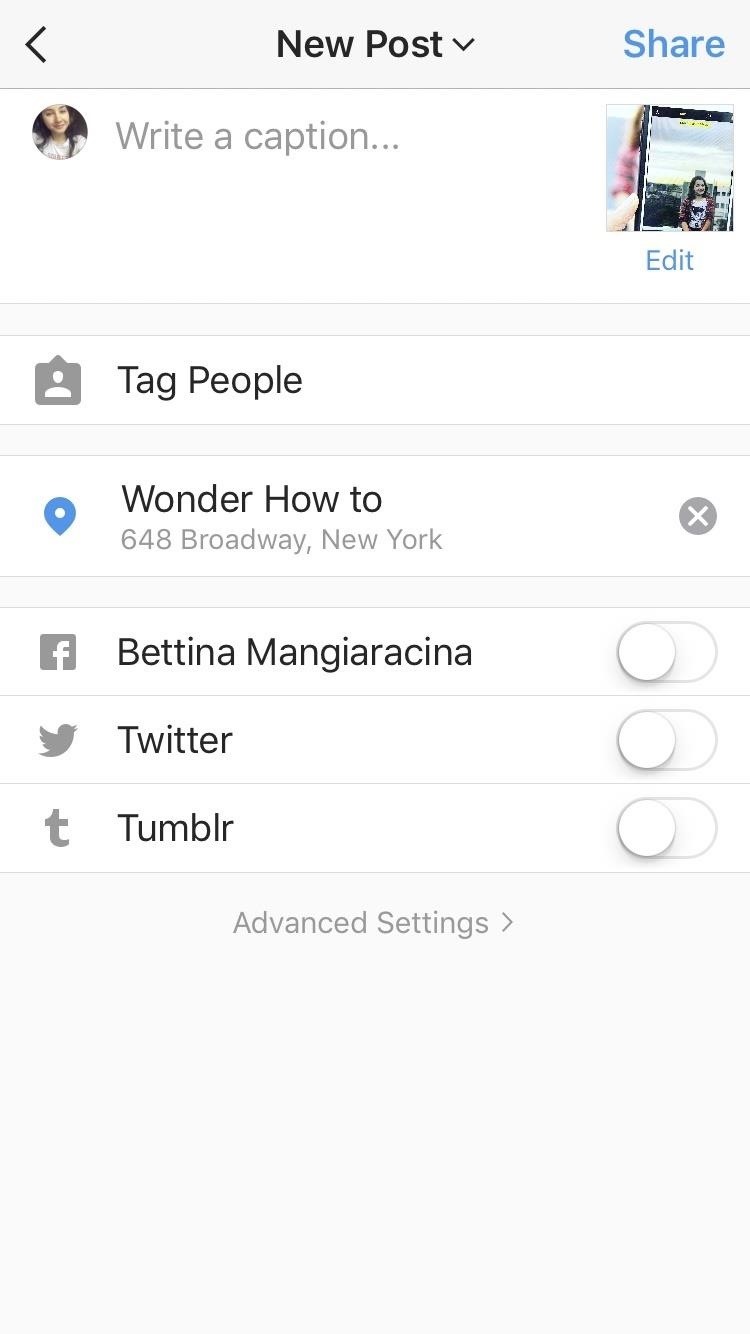
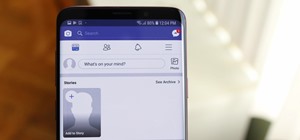
Step 4: Open Up Your Instagram App & Create a New Post
To make sure your custom location is created, go to Instagram and create a new post, then tap "Add Location." Search for your recently created location in the search results. After finding it, post it to your IG and you are all set to go!
Follow me on Instagram @b3t.tina to see how I'm currently using these tips and tricks to grow my own profile page.
Just updated your iPhone? You'll find new emoji, enhanced security, podcast transcripts, Apple Cash virtual numbers, and other useful features. There are even new additions hidden within Safari. Find out what's new and changed on your iPhone with the iOS 17.4 update.


Be the First to Comment
Share Your Thoughts